

Dragon Warrior 2

Entry posted by Hoskat
387 views


Genre: Role Playing Game
Publisher: Enix
Total time played: 30 Hours
Short review: The first of 3 sequels to the grandfather of all NES JRPGs. It will take a keen eye to notice any graphical differences between the original and this sequel but under the hood it features many noticeable improvements.
Interesting links related to Dragon Warrior 2
- Speedrun (4Hours 41min 52sec)
- Soundtrack
- Video Review (SuperDerekRPGs)
- Written Walkthrough (Jason Venter)
- Walkthrough and Maps (Mike’s RPG Center)
- Dragon Warrior 2 Unveiled Secrets PDF scan
A Noticeable Improvement
This was my first (and honestly, probably last) playthrough of Dragon Warrior 2. When I first turned the game on I was almost distracted by how similar it looked to the first game. The graphics are identical as is the music. But, I quickly noticed two things:
- I found that the battles seemed to be faster paced and I began leveling up much quicker than I did in the first game (more on this later).
- The battle scenes now were on a black background where in the first game they showed the enemy with a different background depending on the location of the battle.
At first I was disappointed that the battle graphics weren’t even as good as Dragon Warrior but I quickly realized why. In the first game you never fought more than one enemy at a time. In part 2 you can fight up to 7-8 enemies at a time depending on their size. Taking out the battle background allowed for more intricate character sprites and more on screen enemies at one time. As I got farther in the game this really changed my strategy as every battle had the chance to be a combo of enemies I had never seen before. This was a huge improvement over single enemy battles that played out the same way every time.

Dragon Warrior 1 battle screen. Much prettier, but the 75th time you fight the golem it gets a little old.

7 enemies at once? I’ll take the black background in exchange for tough battles like this one. (Thanks google images, I forgot to take my own photo)
P-A-R-T-Y? Because I gotta!!!
For the first time in a Dragon Warrior game you aren’t alone on your journey. It takes a few hours of quests and grinding, but, you eventually find a Prince and Princess to help you out. The combination of two additional party members and battles with random combinations of enemies really fleshes out the battle system.
Prince
The prince is not nearly as strong as the hero and can’t use many of the stronger swords or armor in the game. He does however have the ability to use magic which comes in very handy. At the beginning of the game I used the prince to heal the party during and after battle. As the game progressed he gained a very helpful spell called “Firebane” which attacked every enemy on screen. The Prince also has the ability to cast “outside” which will exit a cave immediately and “return” which will instantly transport the party to the last town in which you saved your game. These spells were a necessity when I would explore a bit too far from safety and be on the verge of death.
Unfortunately it seemed that more times than not when I was deep in a cave and in danger it was because the Prince was dead meaning I could not cast “outside” or “return”.
Princess
The princess quickly differentiated herself as a better healer than the Prince as she starts the game with the “Healmore” spell which as the name suggests, heals more than the “heal” spell. Eventually she also learns “Heal All”, take a guess at what that spell does.
The princess is very weak physically but carries spells that can aid in battle such as “sleep” which puts the enemy to sleep causing them to miss a turn to attack, “Defense” which lowers the defense of the enemy making my attacks against them cause more damage and “Surround” which causes the enemy to miss 25% of their attacks against me. As the game progressed I learned that using the “Staff of Thunder” weapon as an item in battle causes the Princess to cast “infernos” which is a fire spell that attacks all enemies. This spell came in very handy early on as it gave the Princess some much needed attack power and didn’t use any magic meaning I could use all the magic to heal the party when needed.
The Map
The map of Dragon Warrior felt big enough to feel like an entire world but small enough to never get too lost. Dragon Warrior 2 does something special, to understand you need to know the story of the game.
Basically, this game takes place several generations after the end of the first game. You are the descendent of the first game’s hero and it is up to you to save the world. The game designers took the map of the first game and changed it up slightly as hundreds of years would naturally do. But, if you recently played the first game or grew up playing it you will recognize several of the locations.
The map to Dragon Warrior II is massive, too big in fact. I never truly felt comfortable navigating without a map.

See that red square? That is the ENTIRE map of Dragon Warrior. All the rest of the map is brand new for Dragon Warrior 2.
A huge play area like this would be a welcome addition to almost any game. But, in order for the map to be a plus and not a minus the player needs to ability to access the map, along with your current location in game. That feature does not exist in Dragon Warrior 2. So, without a physical map, internet map or strategy guide it would take until the end of time to know where you are going in this game.
How Would I Know That?
Dragon Warrior 2 features a lot of things that you couldn’t possibly know unless you had a guide or got lucky. In fact, I’m starting to think this game was made with the purpose of requiring the player to buy a strategy guide to succeed which of course would increase the profits of the game maker.
Luckily for me the internet exists so I didn’t have to buy the guide 
The point of the game is to collect 5 crests, use them to enter a cave to get something or other and use that to do something else and then use that one item to open a cave and then a bunch of other cryptic things.
I’m being vague on purpose for 2 reasons…I’m too lazy to research again the exact item names/locations and my description is about as much direction as the game gives you.
Let’s talk about the Sun Crest. Look below at a map of where to find it. How would you ever find that without knowing where to look? I didn’t even know you could walk on the outside of the walls, and even if I did discover that I wouldn’t have known to search that perfectly regular piece of grass.

See the bottom arrow? You can walk through that X which I thought was a wall. The top arrow is where you search to find the Sun Crest.
One Little Time Saving Secret
Without this little “hack” I learned online I don’t think I would have had the energy to finish the game.
When you fight a battle inside the jail cell of a castle you earn the item “Staff of Thunder” which I mentioned early as the weapon of choice for the Princess. If you sell the staff at the item shop you earn $25,000 gold. If you then visit the king and save your game and then turn off the Nintendo, when you turn the game back on you can fight the jail cell battle again earning another “Staff of Thunder”. I did this about 6 times which meant I then always had enough money to buy items/weapons and stay at even the most expensive inns. As Forrest Gump said “That’s one less thing”. As I never needed money I could focus on other things. I imagine this little hack saved me about 10 hours of grinding to earn money early in the game.
“If He Dies, He Dies”
If a character falls in battle you have a couple of choices to bring them back to life.
- Go back to the nearest town and pay money to the holy man who can revive them. This is a very handy option as it doesn’t cost too much money and you are one cast of “outside” and “return” away from brining the deceased party member back to life. But, if you are near the end of a quest or dungeon it doesn’t make sense to leave and then have to start all over. Unfortunately, for about 90% of the game this is really the only option.
- There is a small island in the bottom right corner of the map which is a small desert with one green square. If you search this square you find an item called “Leaf of the World Tree” which will revive a character who has fallen in battle. This is very handy to have so you don’t have to stop your quest and return to a village to revive. But, you can only carry one at a time and the location is so far out of the way it is actually quicker to have the holy man revive the deceased member of the party and start your mission over.
- The Prince learns “Revive” late in the game allowing him to bring someone back to life as long as he has enough magic. It did come in handy in the final castle but it would have also come in handy through the other 95% of the game had he learned the spell a little earlier.
The Dungeons
The game starts off with caves and dungeons that are not too bad. They are small enough and only have one or two paths to explore. As you get a bit farther in the game the dungeons get insane:
- They are much larger, some consist of up to 7 or more large floors to explore.
- There are multiple branching paths
- Some of the paths are maze like in that if you don’t walk in the exact right combination of squares it loops endlessly.
- The whole screen isn’t lit up only displaying a few squares at a time. This is to be like the small area that a torch would light up if you were really inside, I thought it was a cruel trick the game makers were playing on me.
- There are invisible trap doors that will cause you to fall to a floor below
- Some rooms have enemy encounters with every single step you take
The last major cave in the game is called “The Path To Rhone”. In order to even find the cave you have to stand in a specific location on the map and use an item to open up the hidden entrance. Again, without a strategy guide this would have been impossible.
Once you are inside each of the floors is littered with everything I mentioned above. Sometimes while attempting to get through I would encounter 4 green dragons which I did beat one time but was so severely injured I didn’t stand a chance at progressing farther.
I would venture to say it took 20+ attempts for me to actually make it through the cave. Even with 2 different maps I found online, one showing the path to take and the other showing all the trap doors it was nearly impossible. Some of that was that I tried to go through the cave at too low a level and the enemies were too strong for me.
The Grind
Earlier I mentioned how quickly I started earning level ups early in the game. This was a dirty trick played by the game makers. They made the game feel fast paced until I was hooked and then decided to make leveling up feel like such a grind. When I passed through the “Cave to Rhone” which is the final cave before the final castle I was level 20. According to guides I read the final boss shouldn’t be attempted until level 30-35. It took me longer to level up from 20-35 than it did for me to start the game and get through the “Cave to Rhone”. What this means is that from a time perspective, preparing for the final battle took as long as the other 95% of the game.
The Final Battle
After I got to level 31 I walked to the final castle and when I got inside it looks just like the castle I started the game in. I stayed at the Inn to refill my life and walked around confused. I then used one of the online guides to find out I needed to take the 5 crests I had collected to a spot on the opposite side of the world to get an item that when used in this castle reveals that it isn’t a castle at all but a place full of monsters and the final boss.
So, after spending 30 minutes getting the item I missed I came back, used the item to reveal the true castle and began exploring. Several of the rooms were floors covered with life draining designs. I used the Stepguard spell every few steps to protect my party from injury. Basically, just the game makers way of making sure you have less magic when you get to the end.
Eventually I had to use the guide again to know to use the Eye of Malroth on a square deep in the castle to reveal yet another illusion.
Luckily after this point the game wasn’t too unforgiving with mazes. However, the enemies here, even at level 31 were intense. I found running was the best option for most battles.

Isn’t it obvious, turn right to reveal a hidden door.
However, there were 3 battles you couldn’t skip, enemies which guarded staircases that were much more powerful than any I’d faced so far. The good news is that while grinding levels I picked up a cursed sword and cursed armor. Since the castle was cursed I could freely use these items which also happen to be the strongest in the game. Sometimes I was unable to attack because of the curse, but usually the very next turn my hero would deal over 200 hp of damage, enough to defeat pretty much any enemy in the game with one hit.
After the 3 boss fights that didn’t tell you they were boss fights I met Hargon, who was definitely a boss. He wasn’t so bad to defeat, the Hero attacked and the Prince and Princess used Heal spells to keep everyone alive.
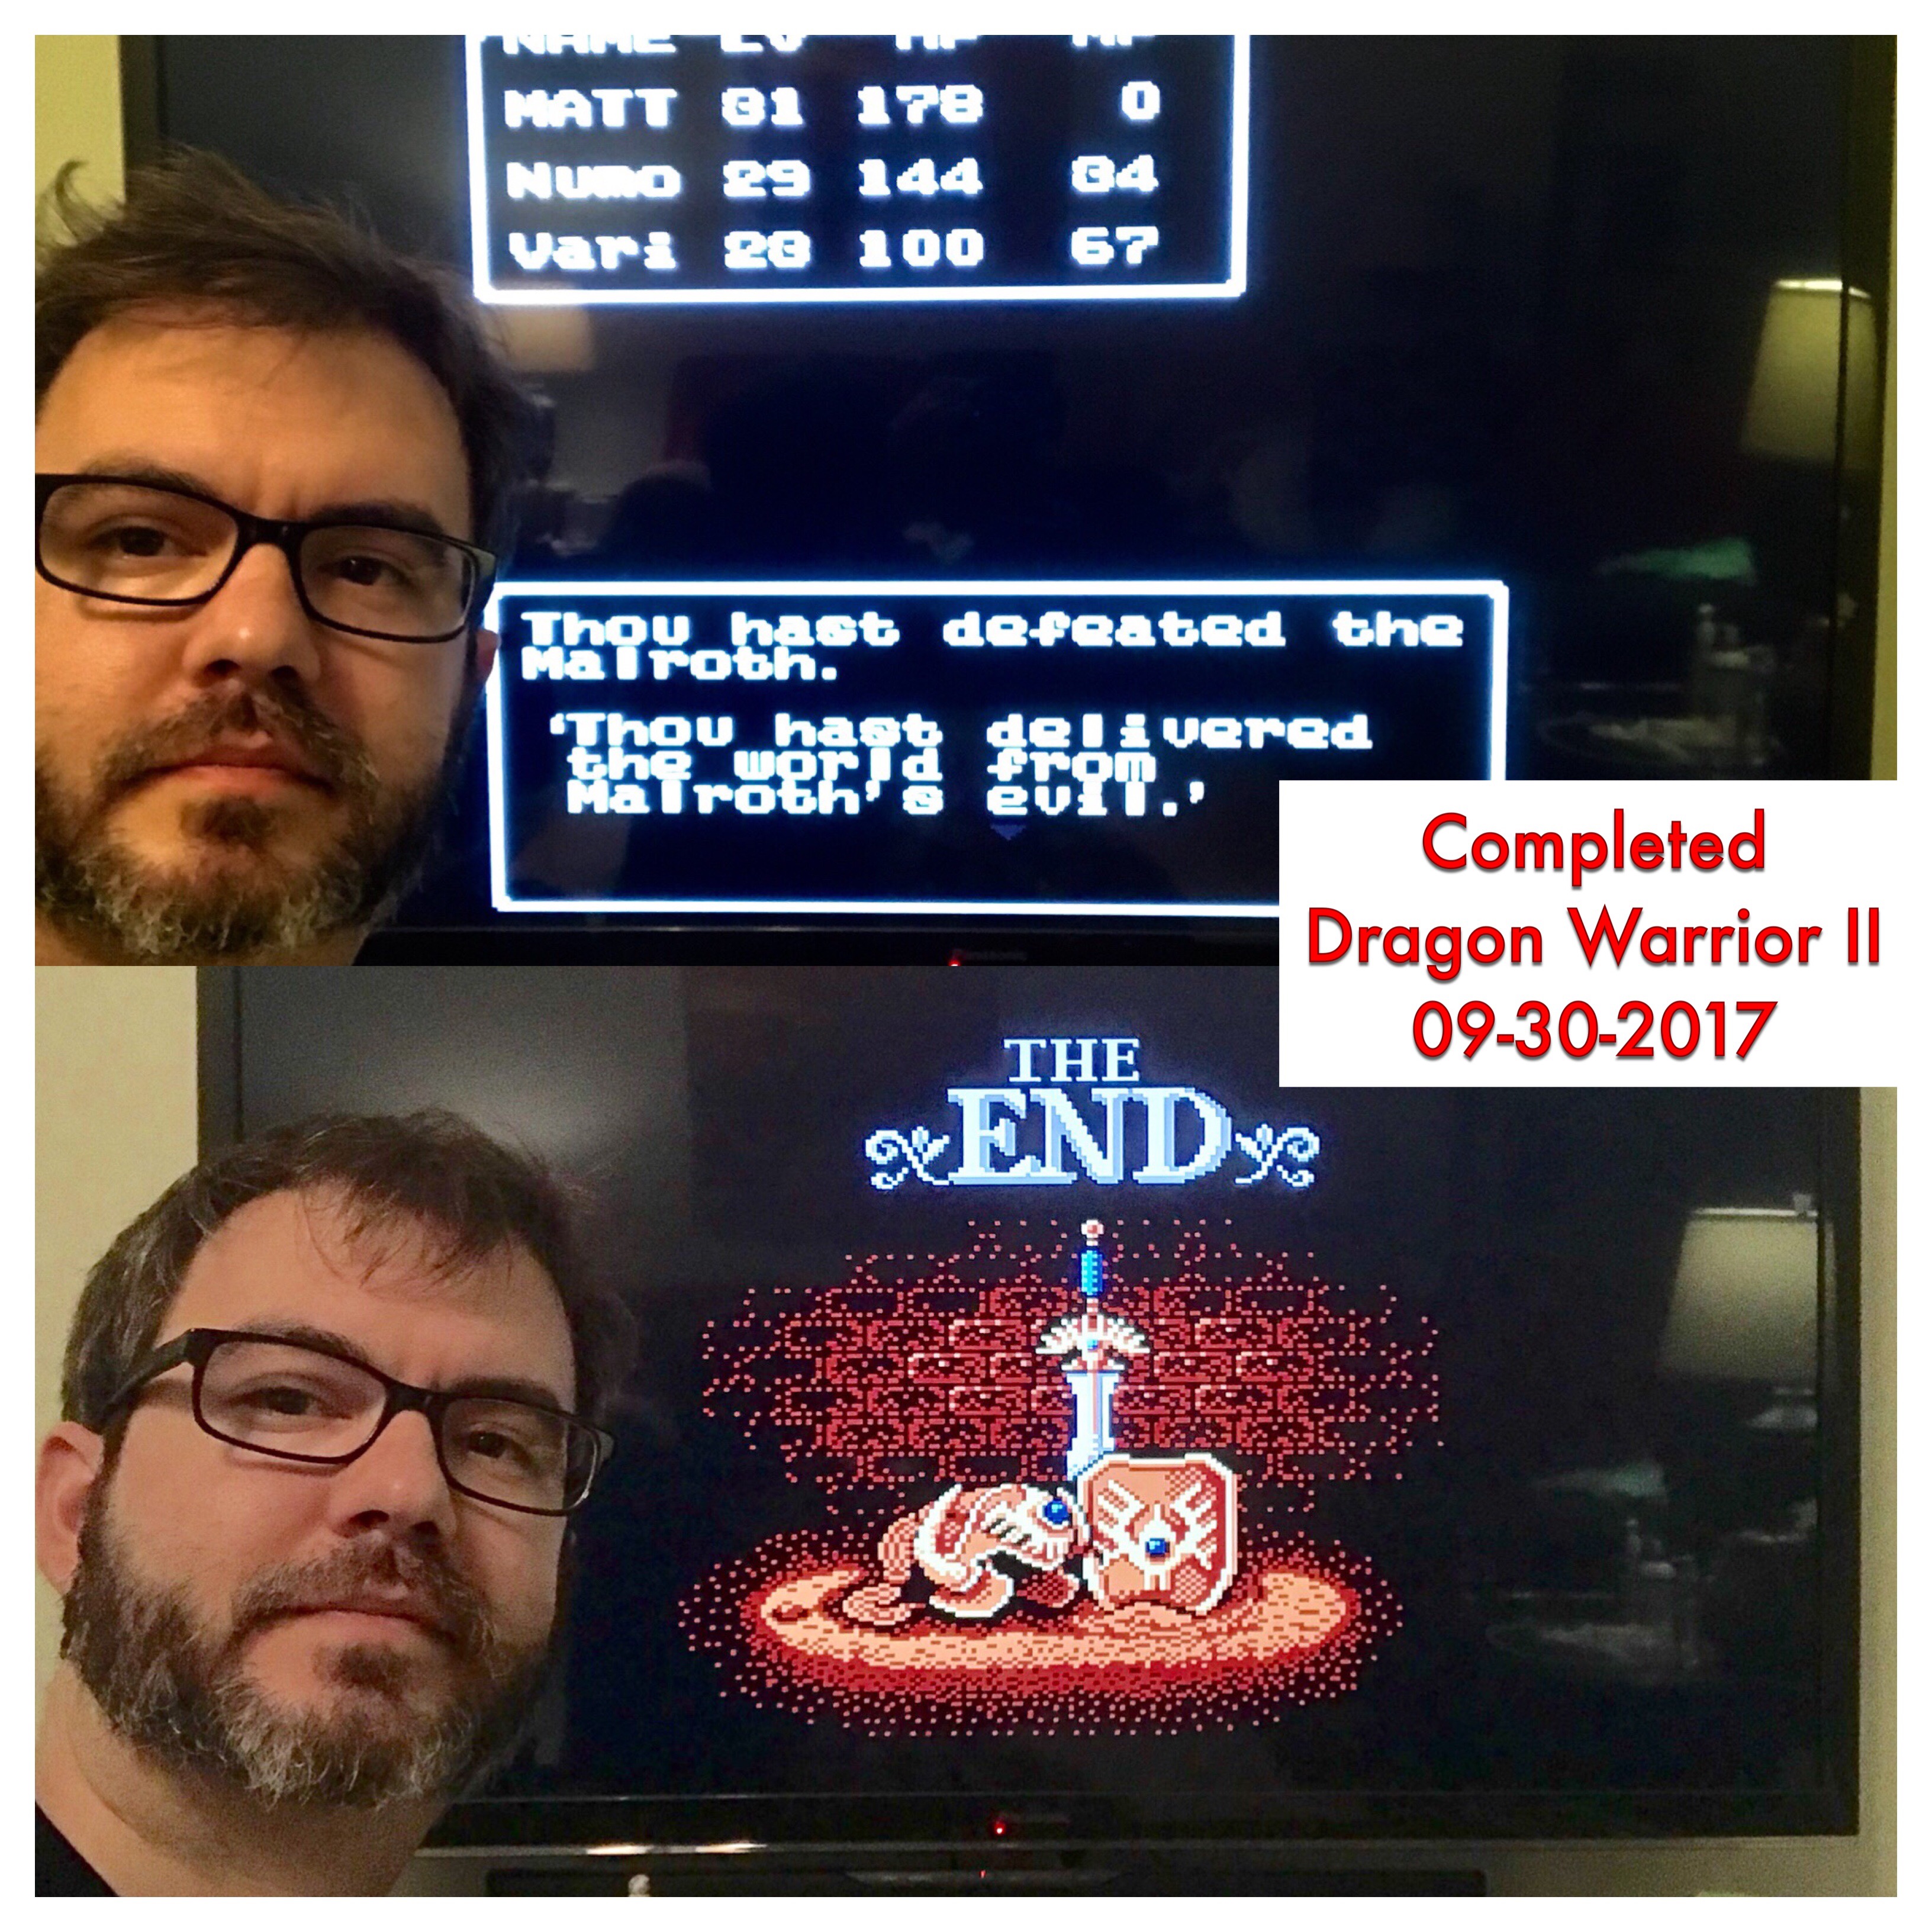
After this 4th boss battle you meet the final boss. There is no mistake this is the last guy as he is huge. His attacks pack quite a punch but it only took me two tries to take him out. I expected the game to end right then and there but I had to travel all the way back to Midenhall castle, which of course I didn’t know how to get to. So, even after defeating the final boss and ridding the world of evil I still needed a guide to beat the game.

He’s so big I didn’t realize Vari had 140HP and wasted a HealAll spell because I thought she only had 40HP
Final Thoughts
Re-reading everything I just wrote makes it seem like I really hated this game. But, that isn’t the case at all. I feel a great sense of accomplishment after beating it even though I had to rely on maps and strategy guides. I would have hated this game so much is I had played it as a kid without access to these online guides but I would have had all the free time in the world to explore. As an adult, I don’t have that much free time so using the guides was a necessity, and even with that, I could have better spent my time playing a newer or more polished RPG. Because I did enjoy my time with the game (when I wasn’t cussing it under my breath) and also appreciate how it was better than just about every other RPG that was released around the same time I have to give it props. 6 hearts for its historical significance. With a few minor tweaks and a game that could have been beaten in half the time without the need for external resources it could have been an all time classic.
0 Comments
Recommended Comments
There are no comments to display.
Create an account or sign in to comment
You need to be a member in order to leave a comment
Create an account
Sign up for a new account in our community. It's easy!
Register a new accountSign in
Already have an account? Sign in here.
Sign In Now